& Construction

Integrated BIM tools, including Revit, AutoCAD, and Civil 3D
& Manufacturing

Professional CAD/CAM tools built on Inventor and AutoCAD
Measure complex 3D shapes with greater quality control. Fusion with PowerInspect supports CNC coordinate measuring machines (CMMs), portable inspection devices, and other inspection hardware.
Use measuring equipment, including CNC CMMs, from a range of hardware providers
Use automated inspection devices such as CNC/DCC CMMs and machine tool probing
Use one interface for all your portable inspection devices, including manual CMMs, inspection arms, and more
Apply the best strategies to inspect complex shapes. Automatically compile results into reports
Explore easy programming for measurement sequences. Measure parts with minimal preparation
Minimize chances of collisions during automated inspections. Simulate measurement sequences offline
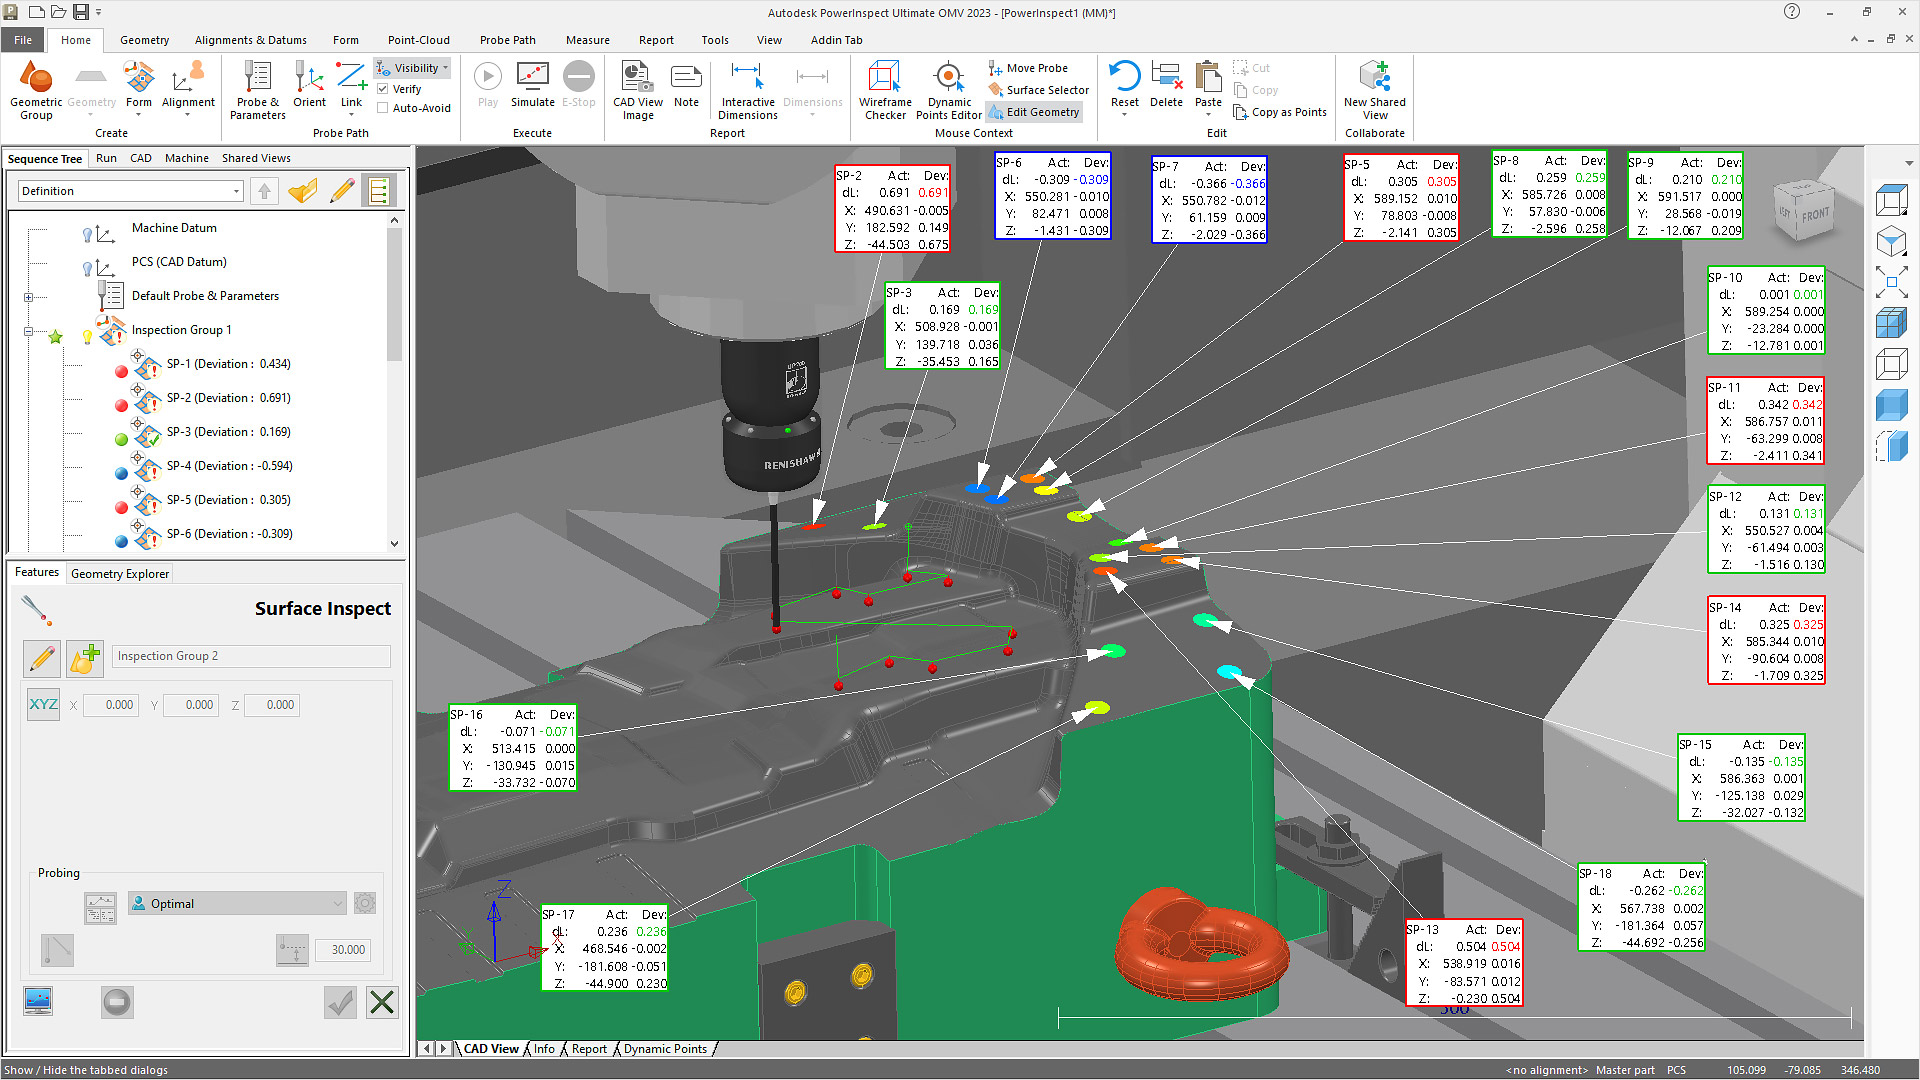
Optimize manufacturing with adaptive fixturing, on machine verification (OMV), electrode inspection, and clay milling
Save time and avoid confusion when trying to locate an inspection point within a large session
Automatically fit 2D features from point cloud data and have confidence in measurement results
Embedded strategies
Use scanning and touch trigger strategies to achieve flexible and efficient probing.
Point cloud programming
Inspect fragile or flexible components against CAD data. Extract features automatically from point clouds.
Inspection without CAD
Measure features without CAD. Export results as a CAD file, including IGES and other formats.
Mirror wizard
Quickly mirror an entire inspection sequence and extend the ability to mirror CAD models.
Shared views
Share your engineering data with key stakeholders. Access data anytime using internet-enabled devices.
Data exchange
(Subscription only)
Get real-time access to the most up-to-date native CAD file translators on the Autodesk cloud.
On-machine verification
Inspect parts while they're still on the machine. Minimize moving parts between machine and CMM.
Electrode inspection
Integrate inspection with design and manufacturing. Shorten setup time and costs for electrode production.
Automotive design
Move swiftly from Alias automotive design software to clay milling on CMMs.
Guided measurement
Use audio and visual aids to help guide inspections, ensuring repeatability and consistency.
Inspection points from CAD models
Import inspection points from CAD data to create inspection points on the part.
Racks and probe databases
Automate inspection sequences with a probe change, with support for the MCR20 and FCR25 CNC racks.
